 Picture Credit: Unsplash
Git is a crucial part of every developer's life, and it has come a long way from the hectic old days of multiple versioning to a current centralized setup that makes it easier to collaborate when using Git.
Even if versioning has become easier to work with, work authenticity still remains an issue.
In Git, a single contribution is called a commit. It holds all the metadata regarding work being done and its ownership. The user metadata contains the name and email address associated with every commit. Herein lies the problem; anyone can add any user and email address to a commit even if the email doesn't belong to said user.
Why You Need Signed Git Commits
GPG Git signing prevents developers from adding malicious code snippets when trying to pose as someone else. Companies can use Git to protect themselves by having a company-wide web of trust set with a GPG Git signing security policy. This policy helps to add authenticity to their code base and helps protect them from fraudulent Git commit transactions.

Why Public-keys Are Needed
The most basic type of encryption is symmetric key cryptography because the one key is used for both encryption and decryption.
Public-key cryptography, or asymmetric key cryptography, differs from symmetric keys cryptography. Public-key cryptography uses two keys: one Public key and another Private key and both have their own functions. The Public key is used for encryption and the Private key is used for decryption.
To enable and establish connection, Public-key cryptography lets different parties communicate securely without having prior access to a secret key, hence the need for two keys.
There are many tools available to implement Public key cryptography; one of the most popular is GPG.
The Difference Between PGP, OpenPGP, and GPG
In the 1990s, Phil Zimmermann created data encryption and a decryption computer program called Pretty Good Privacy (PGP), currently owned by Symantec.
- PGP (Pretty Good Privacy) quickly became the de-facto standard in email communication
- Since it is a commercial product, open-source alternatives to PGP begin to surface
- OpenPGP is an open-source standard that allows PGP software use that is free to the public
- GPG is an implementation of the Open PGP standard
- Open PGP is often applied to tools, features, or solutions that support open-source PGP encryption technology
- GPG, or GnuPG, stands for GNU Privacy Guard
For this post we will use GPG because of its place as an industry standard and its availability on all three major platforms Windows, Mac and Linux.
How to Install GPG
Install GPG depending on the OS you are using: https://gnupg.org/download/
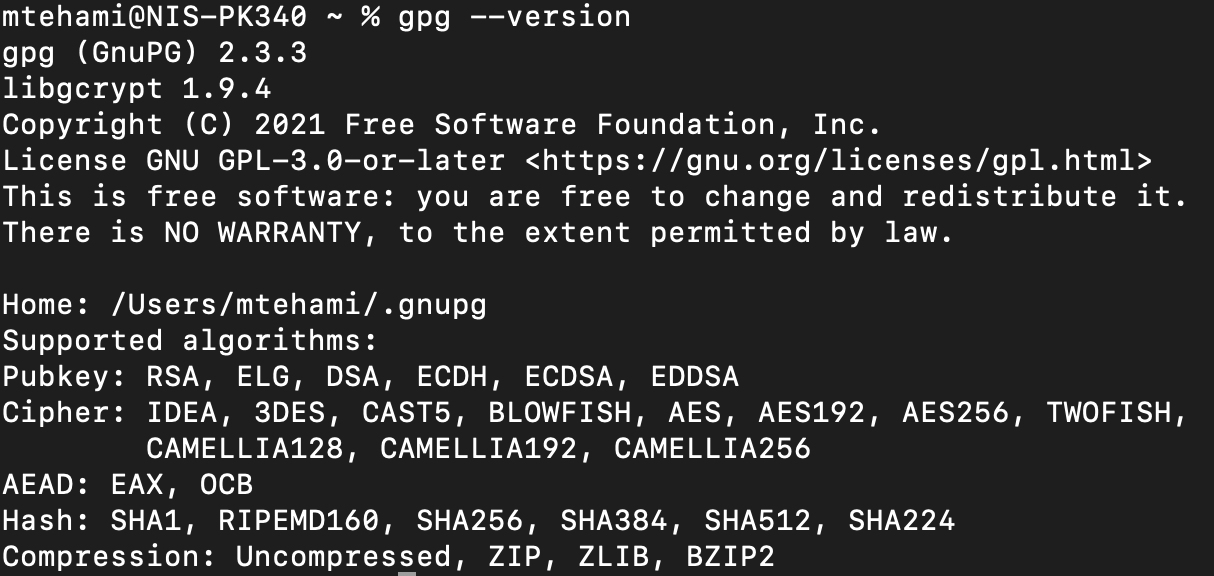
After the installation, verify that you have it working: gpg –version
Creating GPG KeyPair
- Create a gpg keypair: gpg --full-generate-key
Now an interactive console will ask some information:
- Select option one (1) RSA and RSA (default)
- Input the key size (ideally 4096), and set expiry date - for example, 1 year
- Make sure to input your real name and email address and comment (optional)
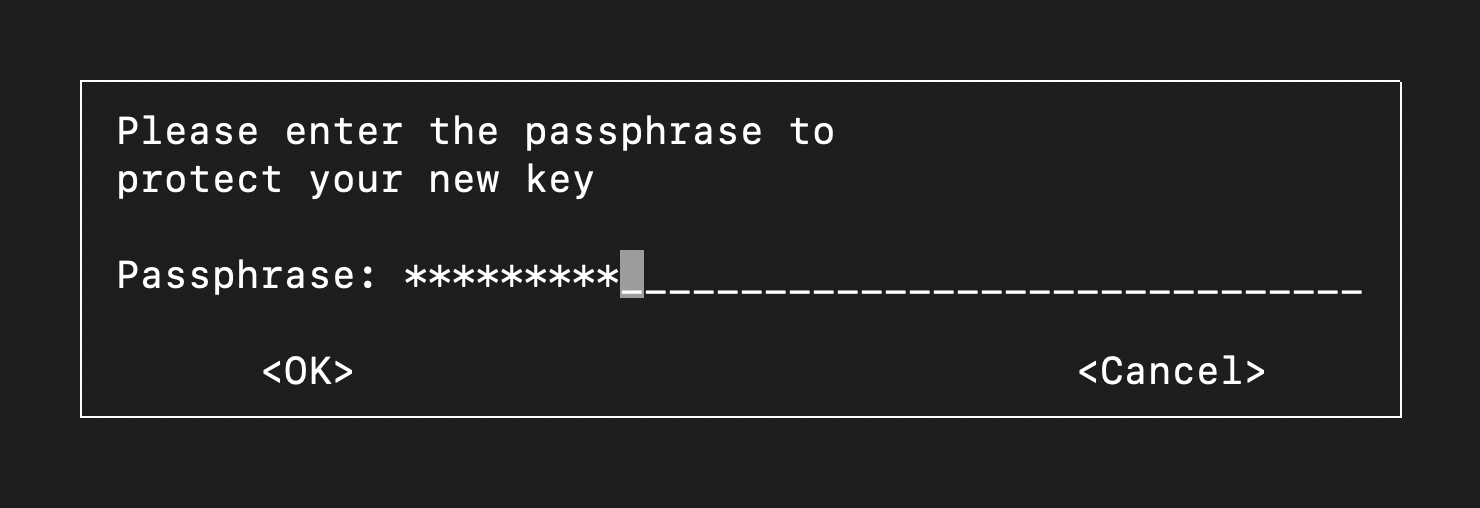
- When prompted to, enter a passphrase
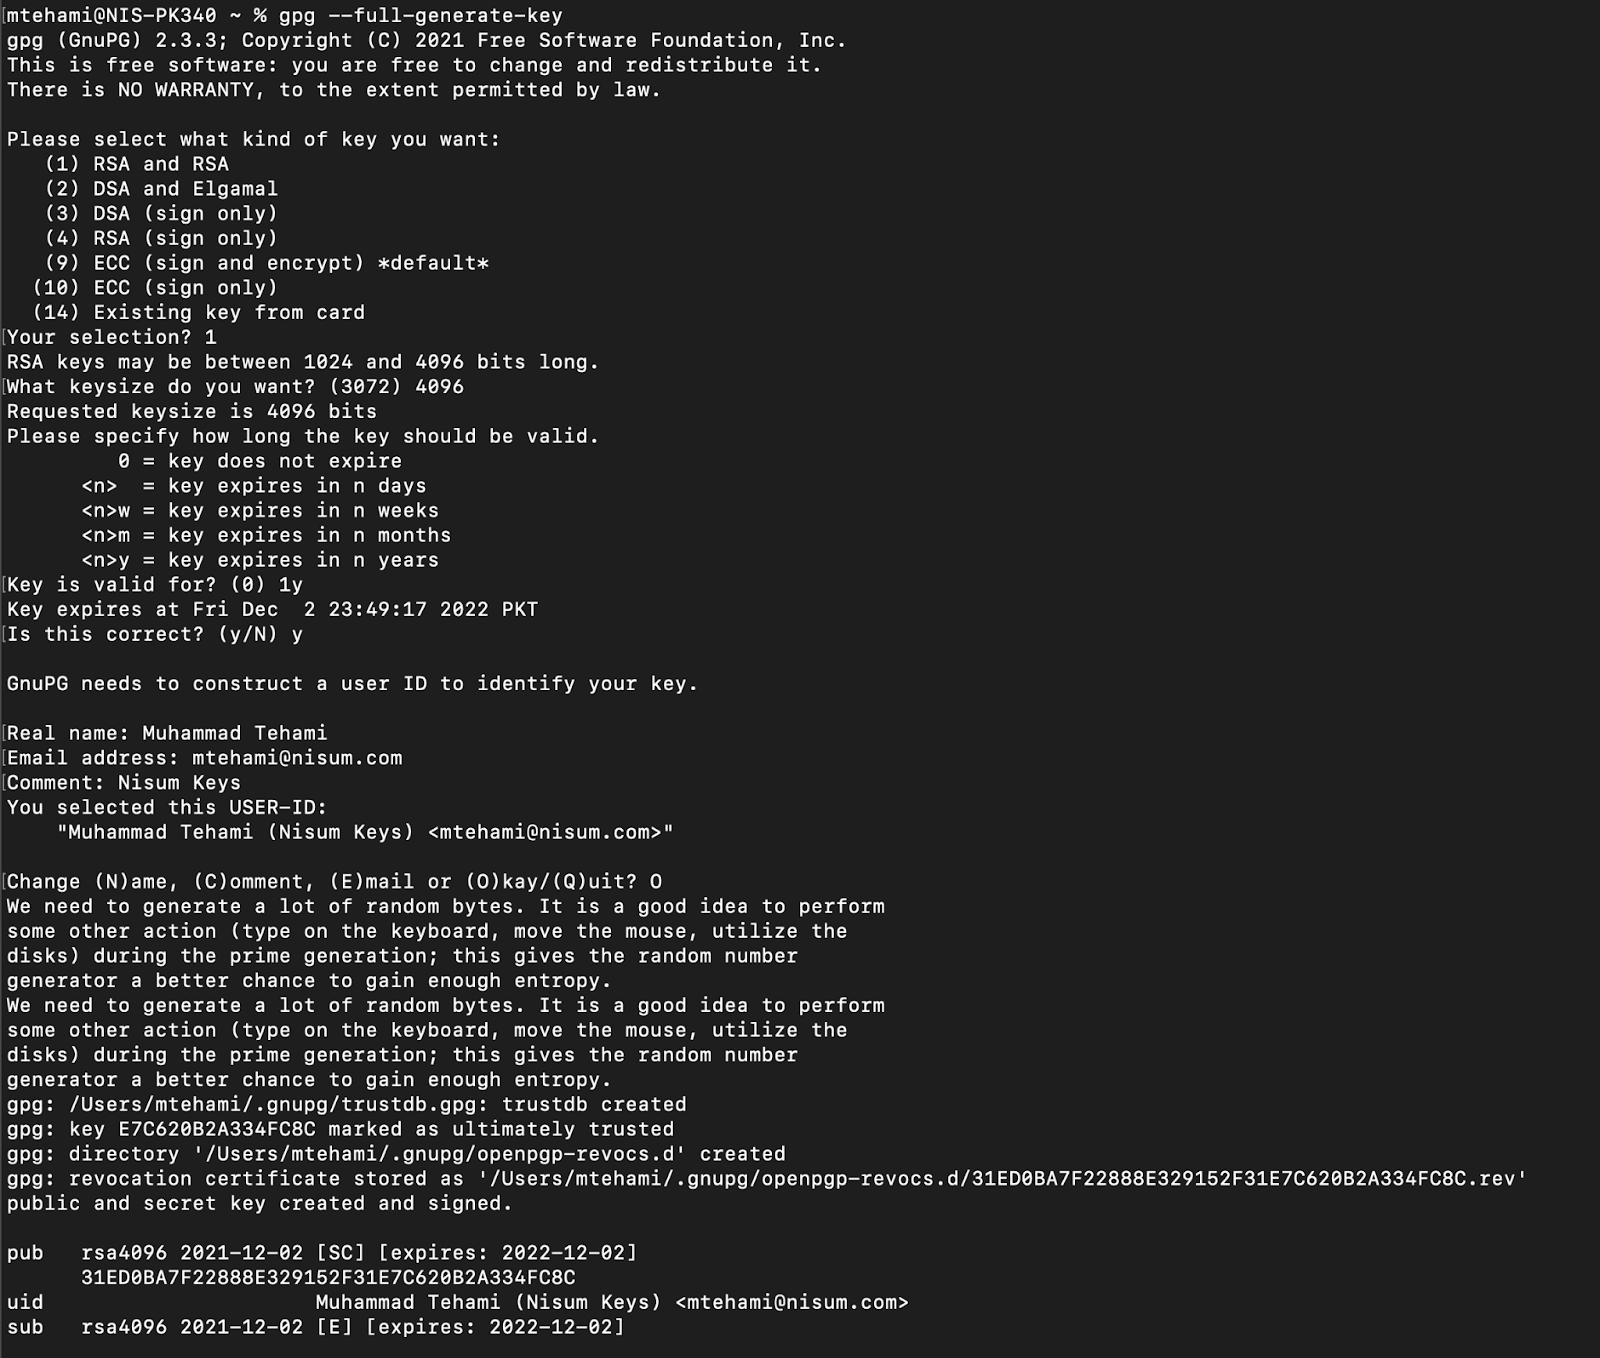
After this, GPG will run some behind-the-scenes math for key generation using some very big random prime numbers.
NOTE: Move your mouse to utilize the disk during the prime generation. This will give the random number generator a better chance to gain enough entropy.
NOTE: In this post, I used dd (copy files) and rngd (a random number generator) on Linux. You can use any program which does a lot of CPU processing and uses a hard drive (Chrome included).
NOTE: If you are on a server that has trouble gaining enough entropy, use the following:
- sudo yum install rng-tools
- sudo systemctl start rngd
- sudo dd if=/dev/sda of=/dev/zero
After running, we have our GPG KeyPair ready to use.
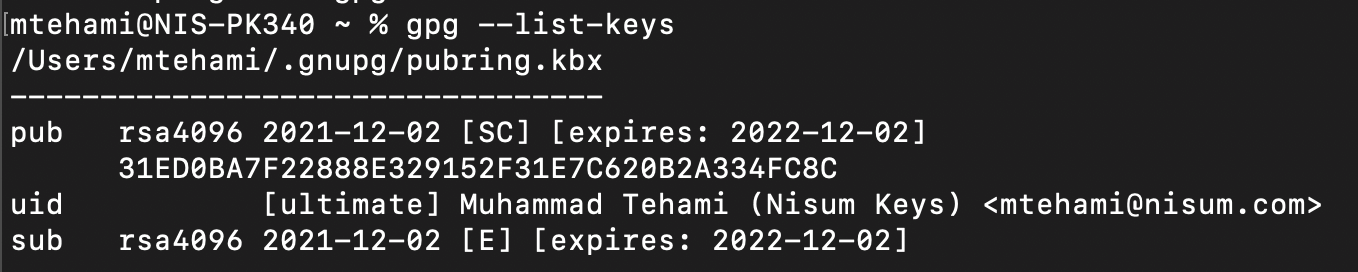
Verify that the key has been created successfully:
- gpg --list-keys
Adding the Sign Git Commit
1. Make sure your name and email in the Git configuration are the same as you have in the gpg key:
- Git config --global user.name "Your Name"
- Git config --global user.email "Your Email"

2. Copy the signing Public key from “gpg --list-keys” step and set your Git to use this key; in the Git configuration here, it is 31ED0BA7F22888E329152F31E7C620B2A334FC8C. Yours will be different:
- Git config --global user.signingkey 31ED0BA7F22888E329152F31E7C620B2A334FC8C

3. Create a directory and initialize Git:
- mkdir repo
- cd repo
- Git init

4. Stage a file:
- touch file
- Git add file
5. Now create a signed commit:
- Git commit -S -m "My signed commit"
6. Check the signed commit:
- Git log --show-signature
You've successfully signed a commit with your Private GPG key!
Distributing Public GPG keys
Now it's time to distribute your Public Key so that others will know that your Private Key signed the commit.
- Get your Public Key: gpg --export --armor "Your Email"
- Copy the output and go to: Github -> settings -> SSH and GPG keys
- Click on the New GPG Keys button and paste your Public Key
- Click the Add GPG key button
Upon completion of the steps above, publish the code to Github and you will see a verified badge next to your commit. This is the proof that this key was actually signed by the corresponding Private key of the given Public key in Github.
A Key Caveat to Keep in Mind
If you don't provide the -S flag in the Git commit, it will not sign the commit, which is our goal. If you want to sign every commit without providing the -S flag explicitly, then modify your global Git config file as follows:
Open the Git config file from ~/.Gitconfig and add the following lines in it.
[commit]
gpgsign = true
[tag]
gpgsign = true
You can now use the usual Git commit to create signed commits.
- Git commit -m "Signed commit without -S"
GPG GIT Commits in a Nutshell
For more information, please take a look at the GPG cheat sheet.
GPG Git commits signing ultimately proves the identity of the commit's author. Using GPG with Git is easy and doesn't require much configuration to read or verify commits. All you need are the Public keys of the author(s) who signed the commits.
Remember that GPG Git signing doesn't encrypt the Git commit. It only adds a signature in the commit with the author's Private key. This way, you don't need anything to be configured; you just need the author's Public key to verify it was added by him/her. If you want to use Git without GPG, you can still read the Git's history, except you will not be able to verify the identity of its author, which is a normal Git behavior.
How Nisum Can Help
If your business is trying to adapt the latest software development processes, Nisum has the required expertise in implementing them with security. Contact us and our experts will help you choose the right software solution and development processes for your required needs.